I installed the device handler
how do i create a simulated device using that handler.?
[RELEASE] Value Tiles - DTH for displaying webCoRE variables / Stats in a 'Thing'
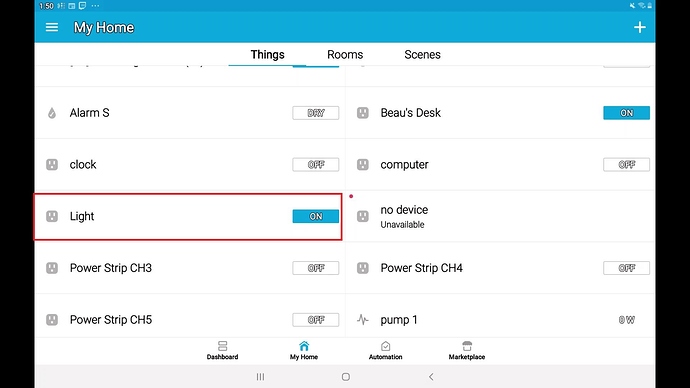
In the IDE, go to ‘my devices’ and then click ‘+ new device’.
The rest is fairly straightforward, give it a random device ID and choose the new custom handler as the ‘type’
fyi… custom handlers always group together at the very bottom of the ‘type’ drop-down list.
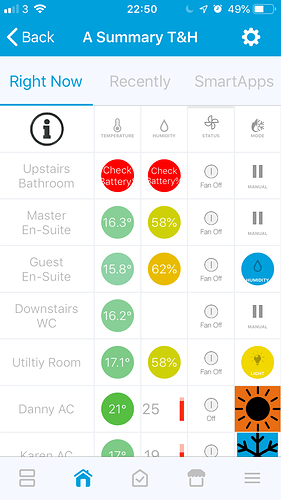
I may have taken my personal versions of this DTH a little bit too far lol… this one is for overall climate control:
Fan switches, modes and temperature settings all work… it’s like my own mini version of actiontiles, but inside the ST app.
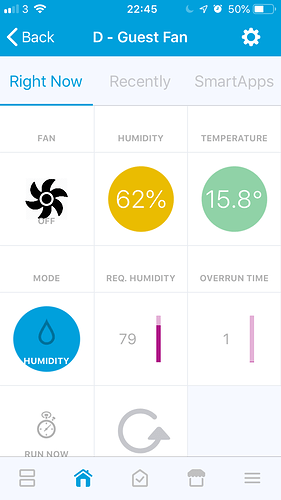
This one controls individual fans, allowing me to set the humidity required to trigger the fan and how long it should run for after the humidity drops. Also if I want Fan triggered by the light turning on instead:
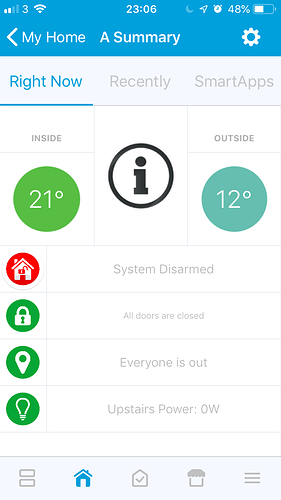
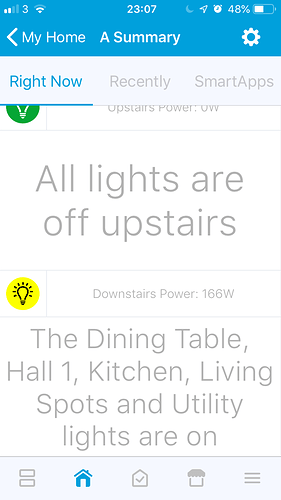
This one gives an overview of various statuses in the home, text changes as applicable:
how can i get the data out of here on tile i trying to remove email part and display it on a tile
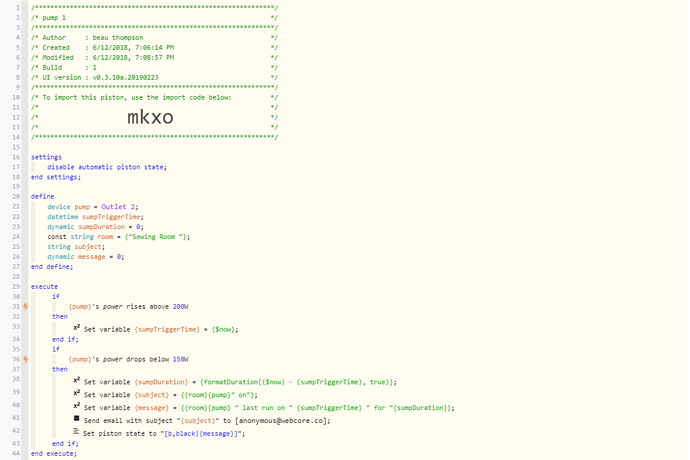
no… not possible.
You can form new lines witin a tile though, but has to be hard coded in the device handler, not sent from webCoRE.
add \n between line 1 and line 2
state "default", label:'Some Title: \n${currentValue}'
Hi I have been looking at this
I Have a question about the DTH
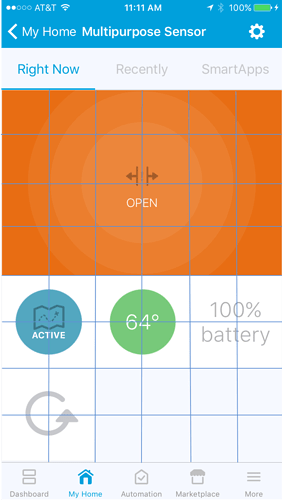
on the fist screen before you tap you see device name
what would i need to change for that to be what every value1 is
You need to choose the name of the device you have the valuetiles DTH assigned to…
In the example gif i shared a few posts up, my device was called ‘A Summary’
I All I have an idea i need help with I known i will have to change the dth
i went the first two panels to be a normal on off switch
how can i do that?
thanks
thanks i only need one switch i fixed that but spacing looks odd
metadata {
definition (name: “webCoRE Value Ties - With Two Switches”, namespace: “Robin”, author: “Robin”) {
capability “Actuator”
capability “Switch”
    attribute "switch2","string"
    attribute "Value1","string"
    attribute "Value2","string"
    attribute "Value3","string"
    attribute "Value4","string"
    attribute "Value5","string"

    command "on2"
    command "off2"
    command "changeValue1"
    command "changeValue2"
    command "changeValue3"
    command "changeValue4"
    command "changeValue5"
}
tiles (scale: 2){
    standardTile("switch", "device.switch", width: 3, height: 3, decoration: "flat", inactiveLabel: false, canChangeIcon: false, canChangeBackground: true) {
        state "on", label: "On", action: "switch.off", icon: "st.Home.home30", backgroundColor: "#66ccff"
        state "off", label: "Off", action: "switch.on", icon: "st.Home.home30", backgroundColor: "#FFFFFF"
    }


    valueTile("Value1", "device.Value1", width: 6, height: 2) {
        state "default", label:'${currentValue}'
    }
    valueTile("Value2", "device.Value2", width: 6, height: 2) {
        state "default", label:'${currentValue}'
    }
    valueTile("Value3", "device.Value3", width: 6, height: 2) {
        state "default", label:'${currentValue}'
    }
    valueTile("Value4", "device.Value4", width: 6, height: 2) {
        state "default", label:'${currentValue}'
    }
    valueTile("Value5", "device.Value5", width: 6, height: 2) {
        state "default", label:'${currentValue}'
    }
    main(["switch"])
    details(["switch","Value1","Value2","Value3","Value4","Value5"])
}
}
def on() {
sendEvent(name: “switch”, value: “on”)
}
def off() {
sendEvent(name: “switch”, value: “off”)
}
def changeValue1 (param1) {
sendEvent(“name”:“Value1”, “value”:param1)
}
def changeValue2 (param2) {
sendEvent(“name”:“Value2”, “value”:param2)
}
def changeValue3 (param3) {
sendEvent(“name”:“Value3”, “value”:param3)
}
def changeValue4 (param4) {
sendEvent(“name”:“Value4”, “value”:param4)
}
def changeValue5 (param5) {
sendEvent(“name”:“Value5”, “value”:param5)
}
Just change height and width of each tile till it looks right.
The page is a grid, 6 sections wide:
https://docs.smartthings.com/en/latest/_images/grid-layout.pngThis is awesome! Can you please share the DTH for D - Guest Fan as well as A Summary T&H? That would be a nice template to use to start building 
It can be done with any device handler… just add the desired value tiles and command lines.
I suggest you study the basic version at the top of this thread to see what parts you need to copy.
i have it all working i do have one question
the first tile you have on main sreen that white withe device name can you give that a color if device is on
Not sure which example you are referring to… but a value tile can only have one colour (except for a range of colours based on a numerical value, i.e temperature.
If you wan’t a tile that dynamically changes colour based on different textual states, use a standard tile, as per the ‘mode’ tile I used in my ‘fan controller’ example.

