Years after seeing some great examples of video feeds on other’s Webcore dashboards, I finally found a stupid-easy way to get NVR video into Webcore Dashboard. My Annke system doesn’t export MJPEG streams, so I’ve been researching this off and on, and keeping track of important information which I was able to put together for this piston. (Definitely standing on the shoulders of giants). This procedure turns my 4K camera feeds into nice video thumbnails.
Step 1:
This is probably the hardest part. Go to https://www.ispyconnect.com/cameras, find your camera, and find the URL that works with your camera. The protocol should be rtsp://. Experiment with difference paths until you find the one that works. For my Annke system, it was /Streaming/Channels/101
Step 2:
To test the URL, create a VLC shortcut and add this line to the TARGET entry
"C:\Program Files\VideoLAN\VLC\vlc.exe" rtsp://admin:[email protected]:port/Streaming/Channels/101

If your stream is encrypted, add your admin and password
The IP address is the address of your NVR (in my case) or camera.
The last part is the protocol/path found on the ispyconnect website
If VLC displays your camera view, then it’s on to the next step.
*Side Note
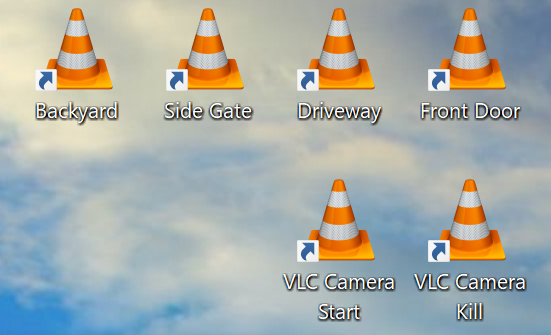
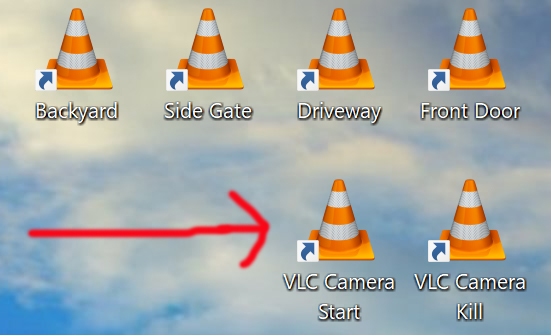
With this method, I created shortcuts to each of my cameras on the desktop. Double-clicking each one runs a separate instance of the camera, handy for when you quickly want to see what’s going on outside.
Step 3
Using the camera information you found, open a text file and type in this information. You can add a line for each camera (I have three cameras in my file.)
start vlc -vvv -Idummy rtsp://admin:[email protected]:port/Streaming/Channels/101 --sout #transcode{vcodec=MJPG,venc=ffmpeg{strict=1},fps=10,width=640,height=360}:standard{access=http{mime=multipart/x-mixed-replace;boundary=–7b3cc56e5f51db803f790dad720ed50a},mux=mpjpeg,dst=:9910/}
In my case, I named the file “VLC Camera Start”. After saving it, rename the extension from .txt to .bat, and then place this file (or a shortcut) to your desktop (so it’s easy to find).
Double-click the file. (You won’t see a VLC window because it’s running in the background). Then open a browser window and type http://127.0.0.1:9910. You should now see your camera view in the browser. (If not, you may need to add the folder containing VLC.EXE to your Windows Path.)
Step 4
Open Webcore and create a new category. I named my “Cameras”. Make sure you select either “Details/Large Tiles” or “Large Tiles/Details”. (It is highly recommended to create a new instance of Webcore for status tiles before trying this. https://wiki.webcore.co/Multiple_Instances)

import this piston code: gwra
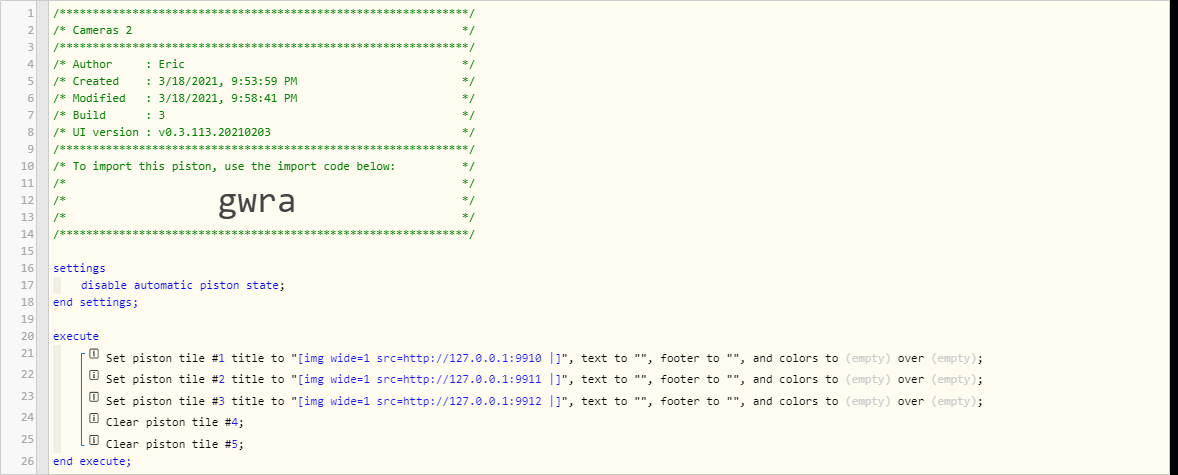
Again, I have three cameras running. You can delete the second and third reference, or leave them to add more cameras later. If you edit the piston later, don’t forget to leave the “|” at the end of the line.
Save the piston, Select the “Cameras” category, and then press “TEST”
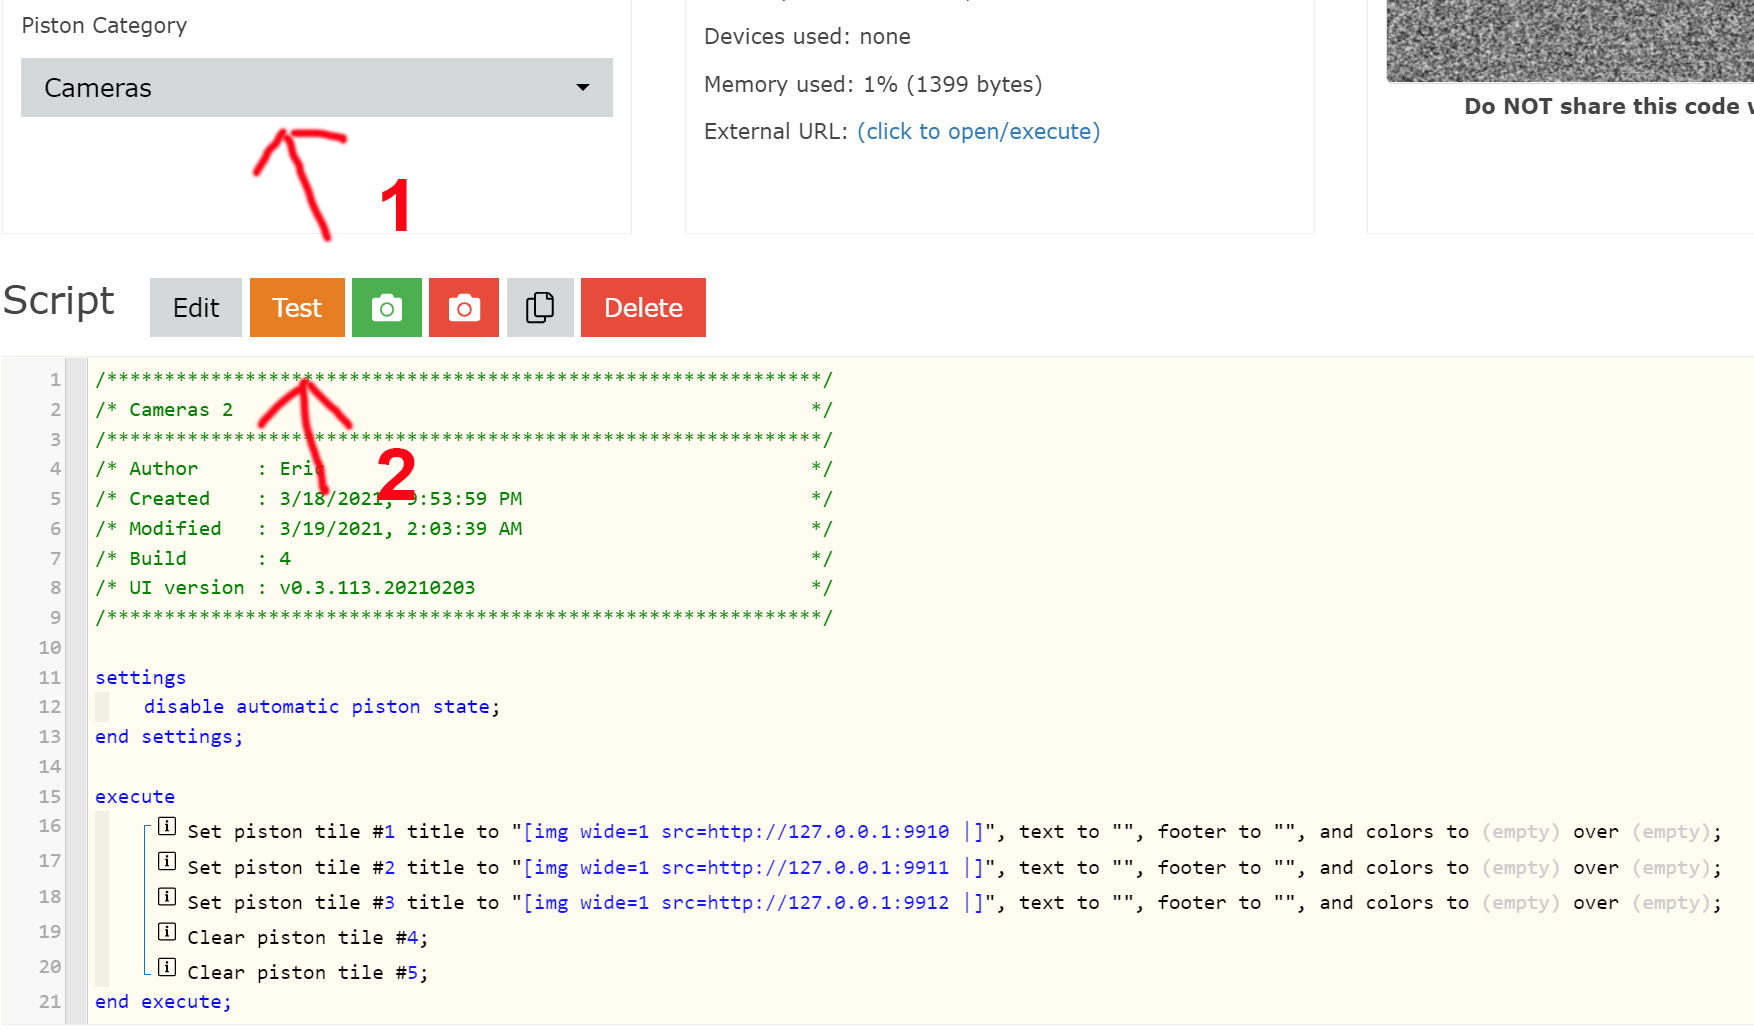
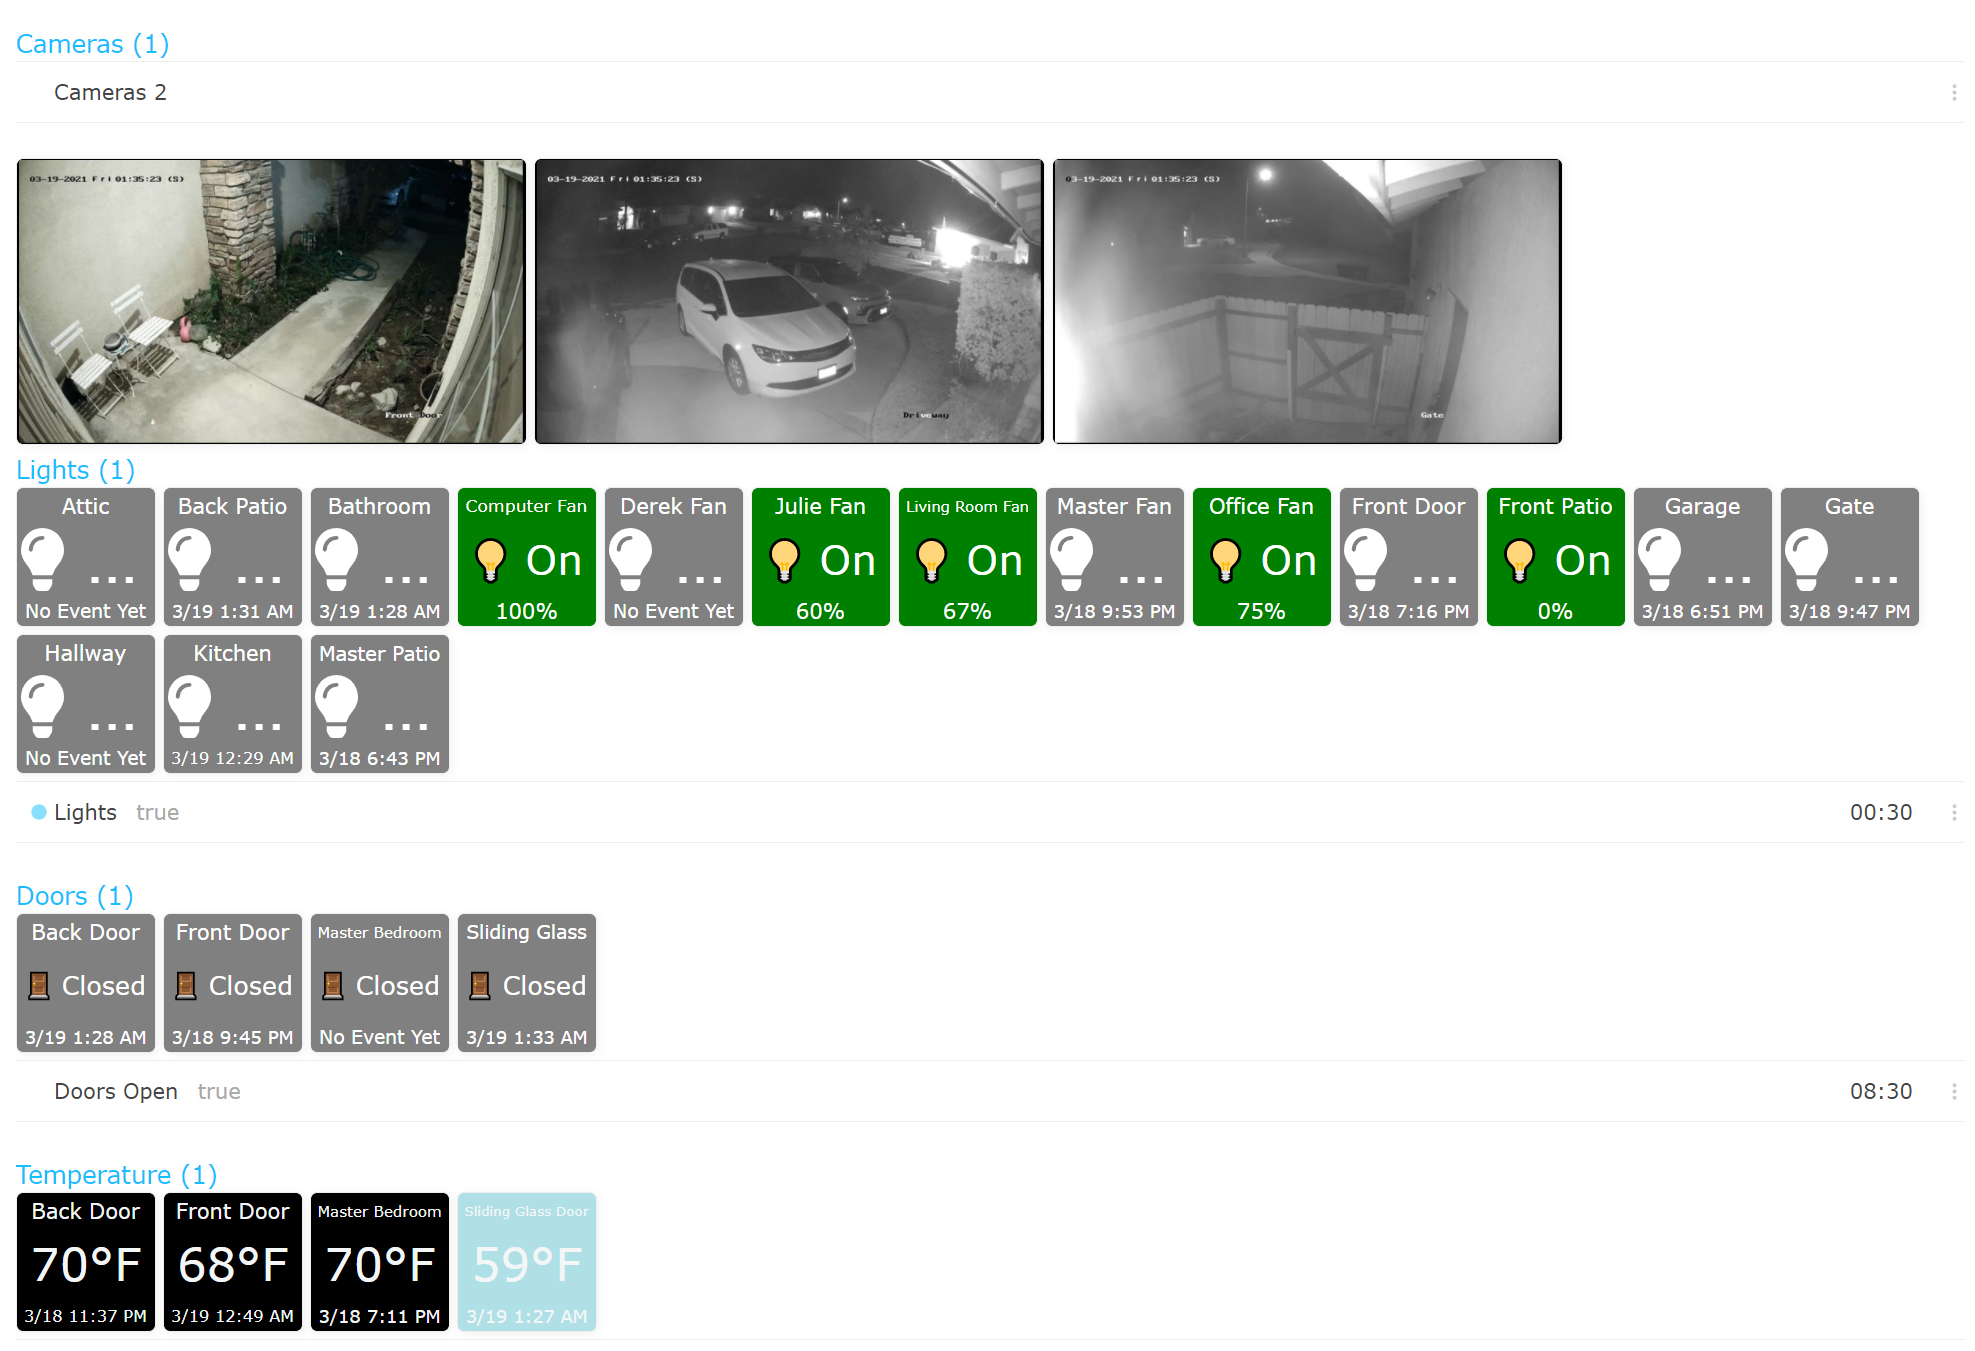
Go back to the main page, and if everything went well (fingers crossed), you should now see your camera view in the “Cameras” section (it may take a few seconds to load).
My rig is an AMD Ryzen 9 3900x with 32GBs of memory, these are my stats while running three instances of VLC.
With

Without
Step 5
Lastly, create another text file and add this:
taskkill /f /im "vlc.exe"
After saving it, rename the extension from .txt to .bat, and then place this file (or a shortcut) to your desktop.
Now you can easily turn the VLC processing off and on, should you choose to do so.
Step 6
If you want to add more cameras, copy/paste the first line in the “VLC Camera Start.bat” file. (Right-click and select EDIT)
For each camera, make sure the PATH leads to each camera (in my case, 101, 201, and 401)
Also, change the DST number at the end (9910, 9911,9912 for each camera)
start vlc -vvv -Idummy rtsp://admin:[email protected]:port/Streaming/Channels/101 --sout #transcode{vcodec=MJPG,venc=ffmpeg{strict=1},fps=10,width=640,height=360}:standard{access=http{mime=multipart/x-mixed-replace;boundary=–7b3cc56e5f51db803f790dad720ed50a},mux=mpjpeg,dst=:9910/}
start vlc -vvv -Idummy rtsp://admin:[email protected]:port/Streaming/Channels/201 --sout #transcode{vcodec=MJPG,venc=ffmpeg{strict=1},fps=10,width=640,height=360}:standard{access=http{mime=multipart/x-mixed-replace;boundary=–7b3cc56e5f51db803f790dad720ed50a},mux=mpjpeg,dst=:9911/}
start vlc -vvv -Idummy rtsp://admin:[email protected]:portStreaming/Channels/401 --sout #transcode{vcodec=MJPG,venc=ffmpeg{strict=1},fps=10,width=640,height=360}:standard{access=http{mime=multipart/x-mixed-replace;boundary=–7b3cc56e5f51db803f790dad720ed50a},mux=mpjpeg,dst=:9912/}
The URL for each camera should look like this in each piston.
http://127.0.0.1:9910
http://127.0.0.1:9911
http://127.0.0.1:9912
I hope this works out as well for you as it did for me. 
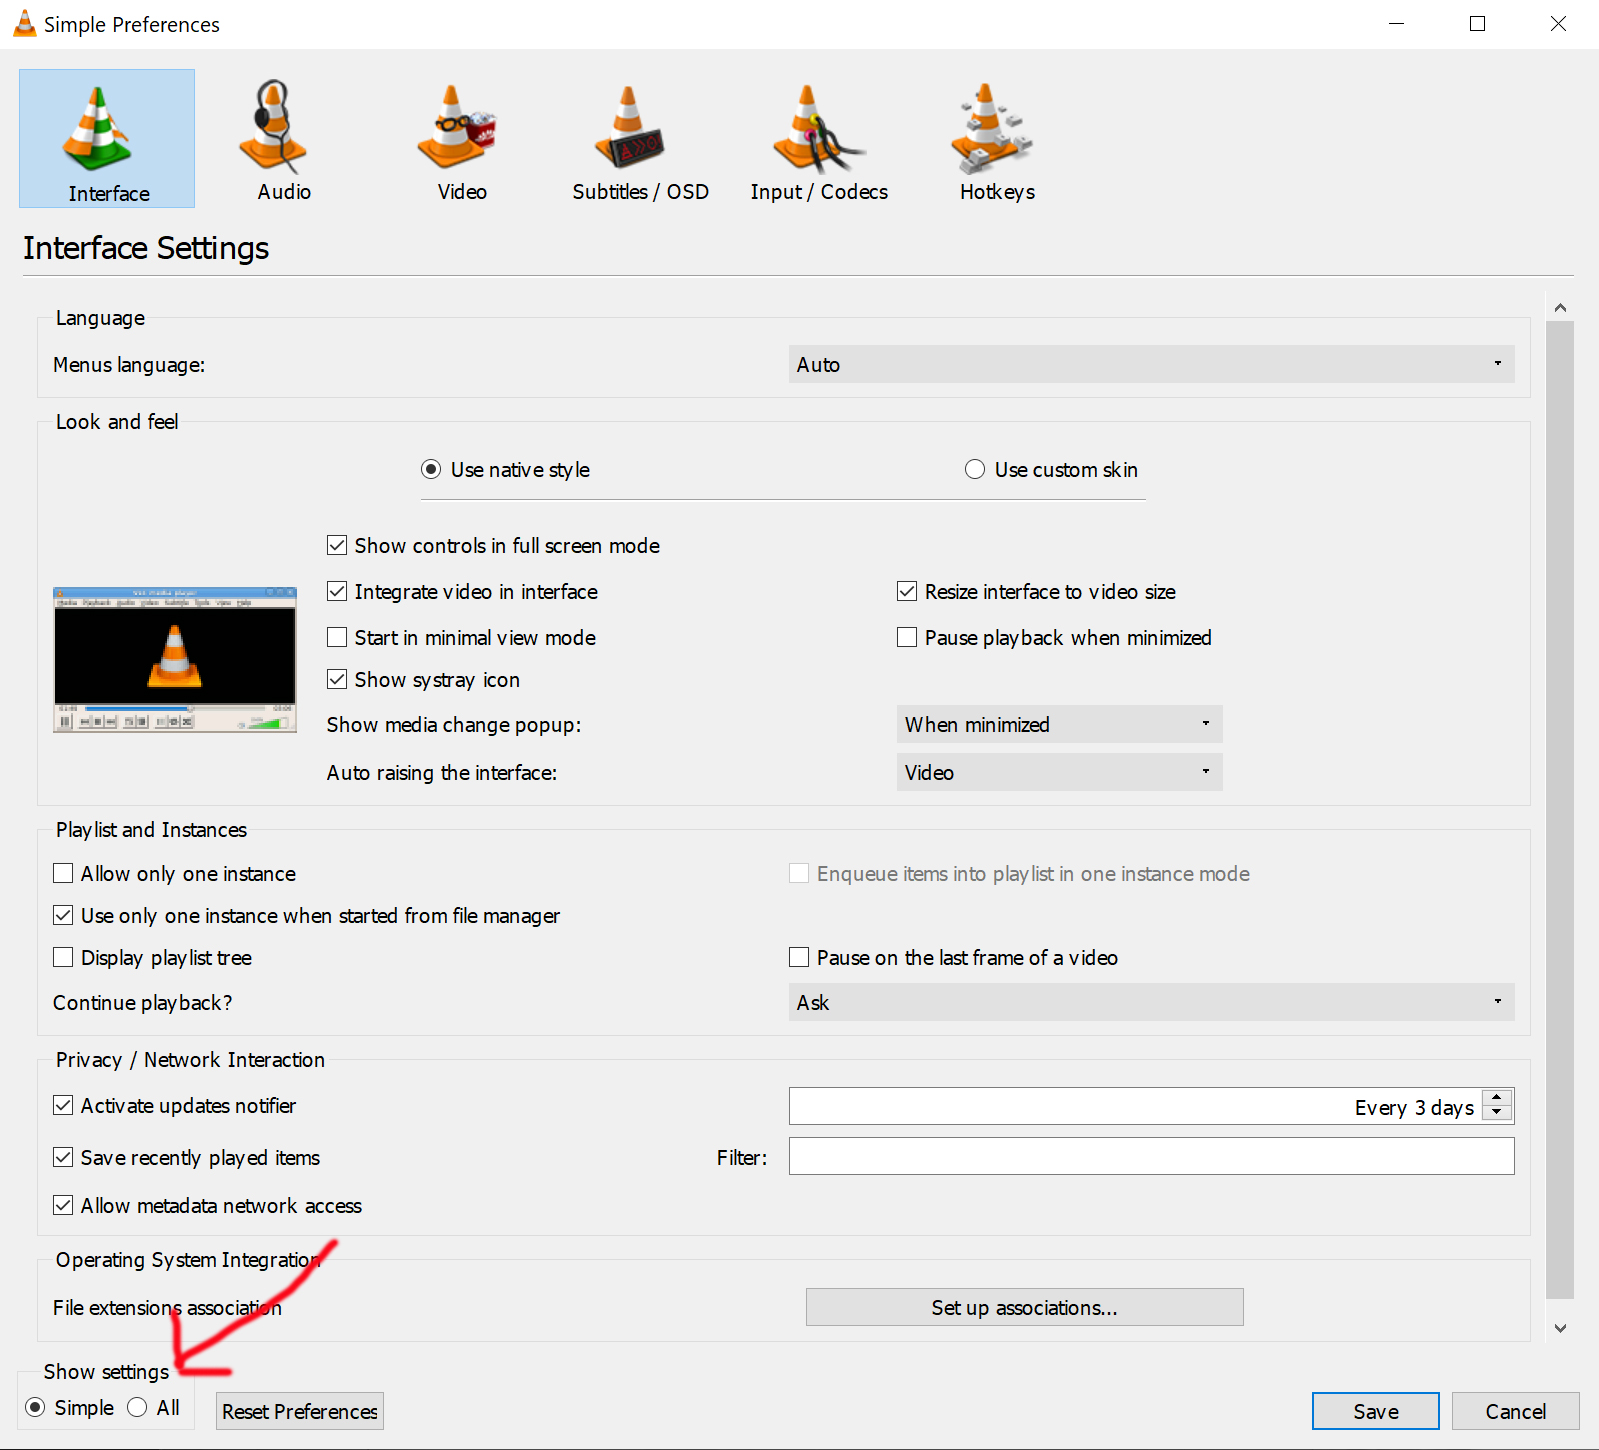
*Side Note, if your camera view takes a long time to load when double-clicking the individual camera shortcuts, then double-click any of the shortcuts, Go to TOOLS > PREFERENCES, look for SHOW SETTINGS at the bottom left and click “ALL”.
In the search window, type “rtsp”. Look for "INPUT/CODECS , DEMUXERS , RTP/RTSP
Under RTSP FRAME BUFFER SIZE, select a smaller number (I chose “0”. If you have a slower network and the video stutters, you can increase the size of the buffer.)