Steps to install the webCoRE Presence Sensor
-
Install and publish the DTH
Login to your IDE and go to the My Device Handlers tab.
- if you installed webCoRE using the github integration, click on Update from Repo and select webCoRE (master) from the list. Select the webCoRE Presence Sensor from the list, make sure to check Publish, then click Execute Update
- if you installed webCoRE using the source code, you need to add and publish a new DTH from code. Find the source code here.
- Ensure the webCoRE Presence Sensor is now listed in your My Device Handlers list and is marked as Published.
-
Add places using a desktop browser (optional - you can do this in step 6 by using the webCoRE app on your phone, it is just easier to use a desktop browser)
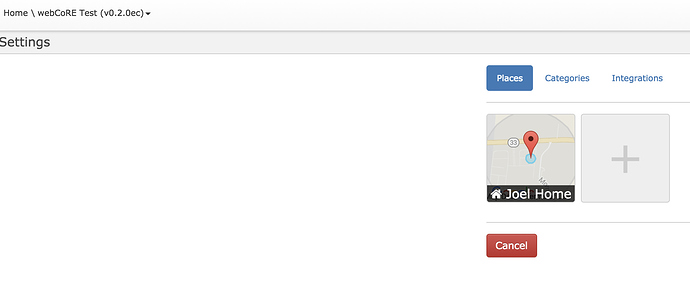
Go to Settings and then Places.
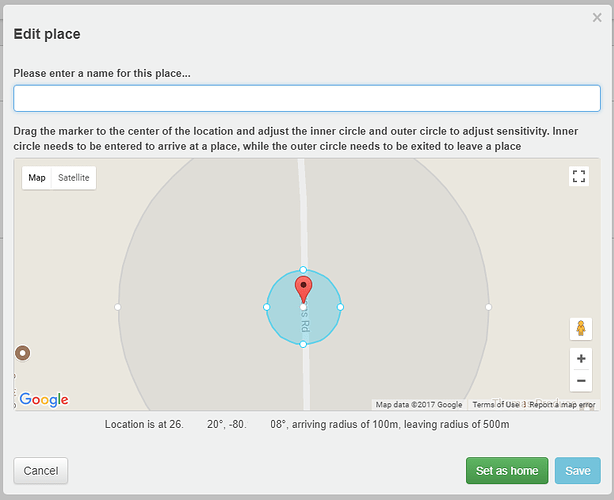
Click on the + button to add a place, if you allowed the browser access to your location, it should default that place to your current location, if not, pan to the right location and click there, the marker should move in the right place.
The two circles default to 100m and 500m radii. Try to keep a good separation between the two for best results and less fake alerts. The minimum inner circle radius is 50m and the minimum separation between the circles is 200m. Give that place a name and click Save. Keep adding as many places as you need (up to 10). One of them (by default the first one) can be set as home by clicking the Set as home button. Only the home place will be driving the presence attribute of the sensor - the others provide other events for you to know when someone is arriving, has arrived, is leaving or has left each of them.
When done, click Apply to save all changes. -
Pay for and Install the webCoRE app from the Apple App Store
Here’s a direct link. -
Set up the presence sensor
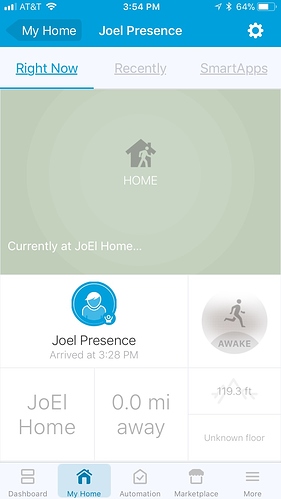
Open the webCoRE app and follow the same instructions from step 3 to register the newly installed webCoRE instance. If you skipped step 3, you will need to add the places at this time. Once you have at least one place added to the list, a green button should appear with the Setup sensor caption. Tap on it and you will get a dialog asking you to provide a name - this is the ST device name for the new presence sensor. Add a name, making sure it is easy to distinguish for any other existing devices you have in ST (i.e. add (beta) at the end of the name) and click Save. The green button should now disappear from the list. When it does, click Apply to close that window. A new device should now be present in your ST app - it’s your brand new presence sensor. -
Make the presence sensor available to your pistons
By default, the webCoRE instance used to create the presence sensor will automatically gain access to them so you don’t have to add the sensors to the available devices list. If you want to make the sensor available to other webCoRE instances then this will need to be done manually via the ST app. -
Pretend you need to go buy something just to test how it works
Grab your keys and leave with your ST app open Look awkward as you walk down the street with your eyes pinned to your phone. You know what to do next.
If you’re interested in information on the nested Sleep capability in this DTH, click here to read the corresponding thread. (Edited to add this statement by cozdabuch)


